Search results
-

1969 Coupe Front End Restore
Hey guys I used wurth clean solve/prep to clean the metal and all the rusty areas were painted with Wurth Rust guard. I sprayed etch primer then the stone guard spray and finished it off with a trim black coating. The seam was filled in With the wurth seam sealer. Also the double tube gun...- Joeshark
- Post #9
- Forum: Member Projects / Progress Threads
-
1969 Coupe Front End Restore
Thanks for the compliments @restomod I used paint remover to remove all of the old under coating and gunk and it came right off. Once that was done( pictures with the rust and clean sheet metal)I wire wheeled inside of the fender and it came out clean. -Joe- Joeshark
- Post #6
- Forum: Member Projects / Progress Threads
-
1969 Coupe Front End Restore
Hi Mike Hope all is going well with your project, it's been a long and cold winter. The fronts are 225 R60 15 in the front and the rear are 235 in the rear. Thanks Joe- Joeshark
- Post #3
- Forum: Member Projects / Progress Threads
-
1969 Coupe Front End Restore
Hello guys, been awhile since I updated on here with my progress. Long read but the before and after differences are substantial. The car started off looking like this underneath the front fenders. Once all the major junk was cleaned off it looked...- Joeshark
- Thread
- Replies: 8
- Forum: Member Projects / Progress Threads
-
Thanks and good luck with you cool looking ride
Thanks and good luck with you cool looking ride- Joeshark
- Profile post
-
How To service C4 Transmissions
Great information Thanks for taking the time out to put it together. Joe- Joeshark
- Post #2
- Forum: Write Up's, How To's, Installation / Uprgrade Info
-
Work and shows
Thanks everybody for the kind words! Hello, Yes, the car originally came with disc brakes. I purchased brake kits from Chockostang, they can be contacted at 217-882-2083, or you can view the kits on their ebay store or via their website which i posted below, if you call him he might give you...- Joeshark
- Post #16
- Forum: Member Projects / Progress Threads
-
-
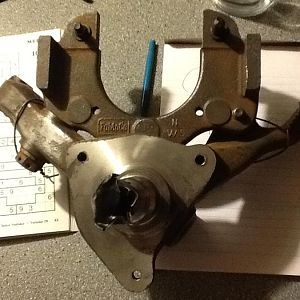
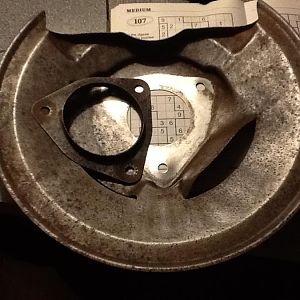
Work and shows
Happy new year everybody, The mustang's front end is getting completely overhauled, here are some pictures of the ongoing process. The old parts are being de-rusted and the rotors, calipers, ball joints etc are being replaced. I will be lowering the upper control arm 1 inch as done by...- Joeshark
- Post #9
- Forum: Member Projects / Progress Threads
-
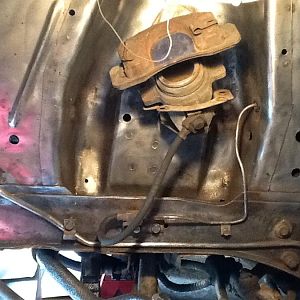
photo 1 (1)
- Joeshark
- Media item
- Comments: 0
- Album: Work
-
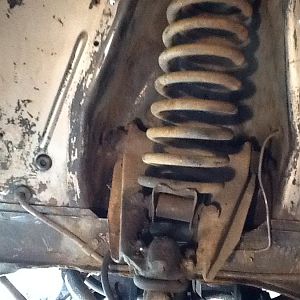
photo 1 (2)
- Joeshark
- Media item
- Comments: 0
- Album: Work
-
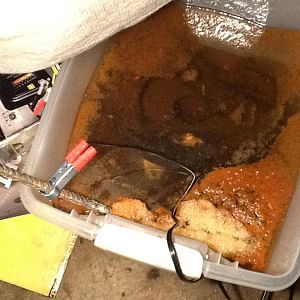
photo 1 (3)
- Joeshark
- Media item
- Comments: 0
- Album: Work
-
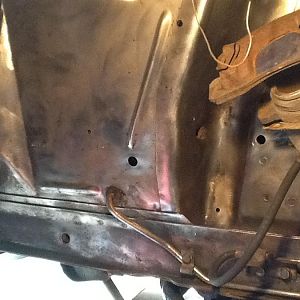
photo 2 (1)
- Joeshark
- Media item
- Comments: 0
- Album: Work
-
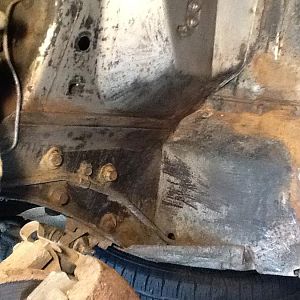
photo 2 (2)
- Joeshark
- Media item
- Comments: 0
- Album: Work
-
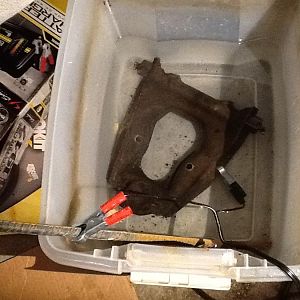
photo 2 (3)
- Joeshark
- Media item
- Comments: 0
- Album: Work
-
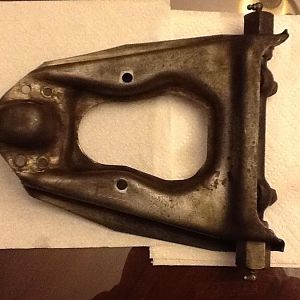
photo 3 (1)
- Joeshark
- Media item
- Comments: 0
- Album: Work
-
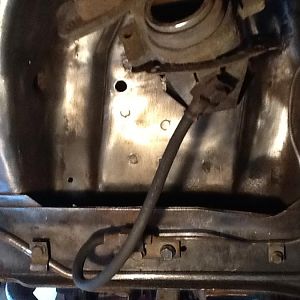
photo 3 (2)
- Joeshark
- Media item
- Comments: 0
- Album: Work